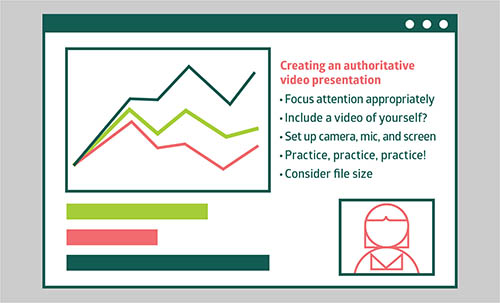
As with anything that relies on technology, you must account for possible technical problems.
Set up your camera properly
If you plan to include a video of you presenting your slides, make sure your face sits squarely within view. You’ll typically want to include the top of your shoulders and keep your eyes centered within the frame. Make sure that the lighting is appropriate and the background is clear of distractions. Look in the general direction of the camera, which is best mounted on top of your screen or in front of your screen (on which you will be viewing and changing your slides as you present them).

Some recording applications allow you to choose a virtual background, but be careful that you choose one that is suitable for the venue (i.e., choose one that maintains your authority as an academic presenter and is not distracting in itself). Also, remember that if you tend to move your position often as you present, then your outline against the virtual background will become fuzzy, which may be distracting. So, if possible, use a real background, which will be minimally in view if you are set squarely in the frame. An empty neutral colored wall is a safe choice, but in reality your background may well include pieces of furniture and some objects like a bookshelf, artwork, and a clock—just try to make the real background tidy and non-distracting.
Set up your microphone properly
Whether you are using, for example, an external microphone or a built-in microphone for a camera or earphones, quickly check the volume and quality of the sound recording before you begin. Avoid speaking too close to the microphone because this can cause popping and sibilance that reduces clarity of the recorded speech.

- If there is a lot of ambient noise (traffic, sirens, etc. like where we are in central Tokyo), be conscious of needing to either (1) pause and resume your recording when the disturbance has passed and then edit the disturbance out or (2) re-record the affected segment and splice it in later. If you re-record, then try to replicate the exact environment in which you did the first recording, so that the inserted audio clip is of similar quality to the original recording.
- If you are using a microphone built into your earphone set that hangs below your mouth, make sure it isn’t so close that you get popping sounds (strong blasts of air) on sounds like “p” and “b” or sibilance (a hissing sound) on sounds like “f” and “s”.
Set up your screen properly
Your slides should fill the screen (e.g., using ‘Slide Show’ mode in PowerPoint) so that the audience sees no other distracting information on your screen during the recording.

- If you are using animations in PowerPoint to reveal content within the slides, you need to be in ‘Slide Show’ mode for the animation to work.
- During Q&A, if you want to quickly jump to specific slides in PowerPoint, hit Escape to exit ‘Slide Show’ mode, navigate to the slide you want on the left side of your screen, and then enter ‘Slide Show’ mode again to talk through the slide in detail.
- If you use more than one monitor, make sure that your slides display in ‘Slide Show’ mode on your main monitor for the recording.
Check and practice videorecording your presentation
Schedule some time to practice making the recording. At the beginning, try making a 1-minute video recording so that you know what you sound (and look) like. This will help you to get the right audio levels and to check the pace of your presentation. You can also familiarize yourself with pausing and restarting the recording in case you want to re-record a part of your presentation while recording.
Sharing the task of making the video recording can help to reduce the burden and stress of not only creating and presenting the presentation material well, but also handling the technical aspects of making the recording itself. If you are not familiar with how to make a video recording or you are worried about giving the presentation while handling the technical aspects, consider asking someone to help you.
Here at ThinkSCIENCE, we are very happy to advise our customers on how to record their presentations. We are experienced in recording our own conference presentations and recording teaching courses for universities to offer students and faculty on demand, so we have learned many tips and tricks for making video recordings efficiently.
Check the file size
After you’ve recorded your presentation, check the file size. If you find that your audio file (e.g., MP3 file) or video file (e.g., MP4 file) exceeds any limit set, try compressing the file to reduce the size. Various tools are available for compression without markedly reducing the quality of the recording.


